Processing RAW photos with CUDA
This is one of the more involved projects I’ve worked on. If some parts feel dense, that’s because they are. We’re touching GPU memory management, graphics interop, image processing math, and real-time UI all at once.
Last week I was out shooting Nikon D3200. Like any serious hobbyist, I shoot in RAW. However, I was curious what exactly RAW means and what’s in that file?
A few Wikipedia articles later I stumbled upon process called debayering. And the moment I understood how it worked, one thought hit me immediately:
This is embarrassingly parallel.
I started digging into how debayering actually works under the hood. After hours of research, I stumbled upon NVIDIA’s Performance Primitives (NPP) library. To my surprise, already has a solid implementation of the algorithm baked in.
So I built a small app to put it to work: load a RAW file, copy the data to the GPU buffer, run the debayering kernel, and save the result as a PNG. Sounds easy, right?
Well, this was the result…
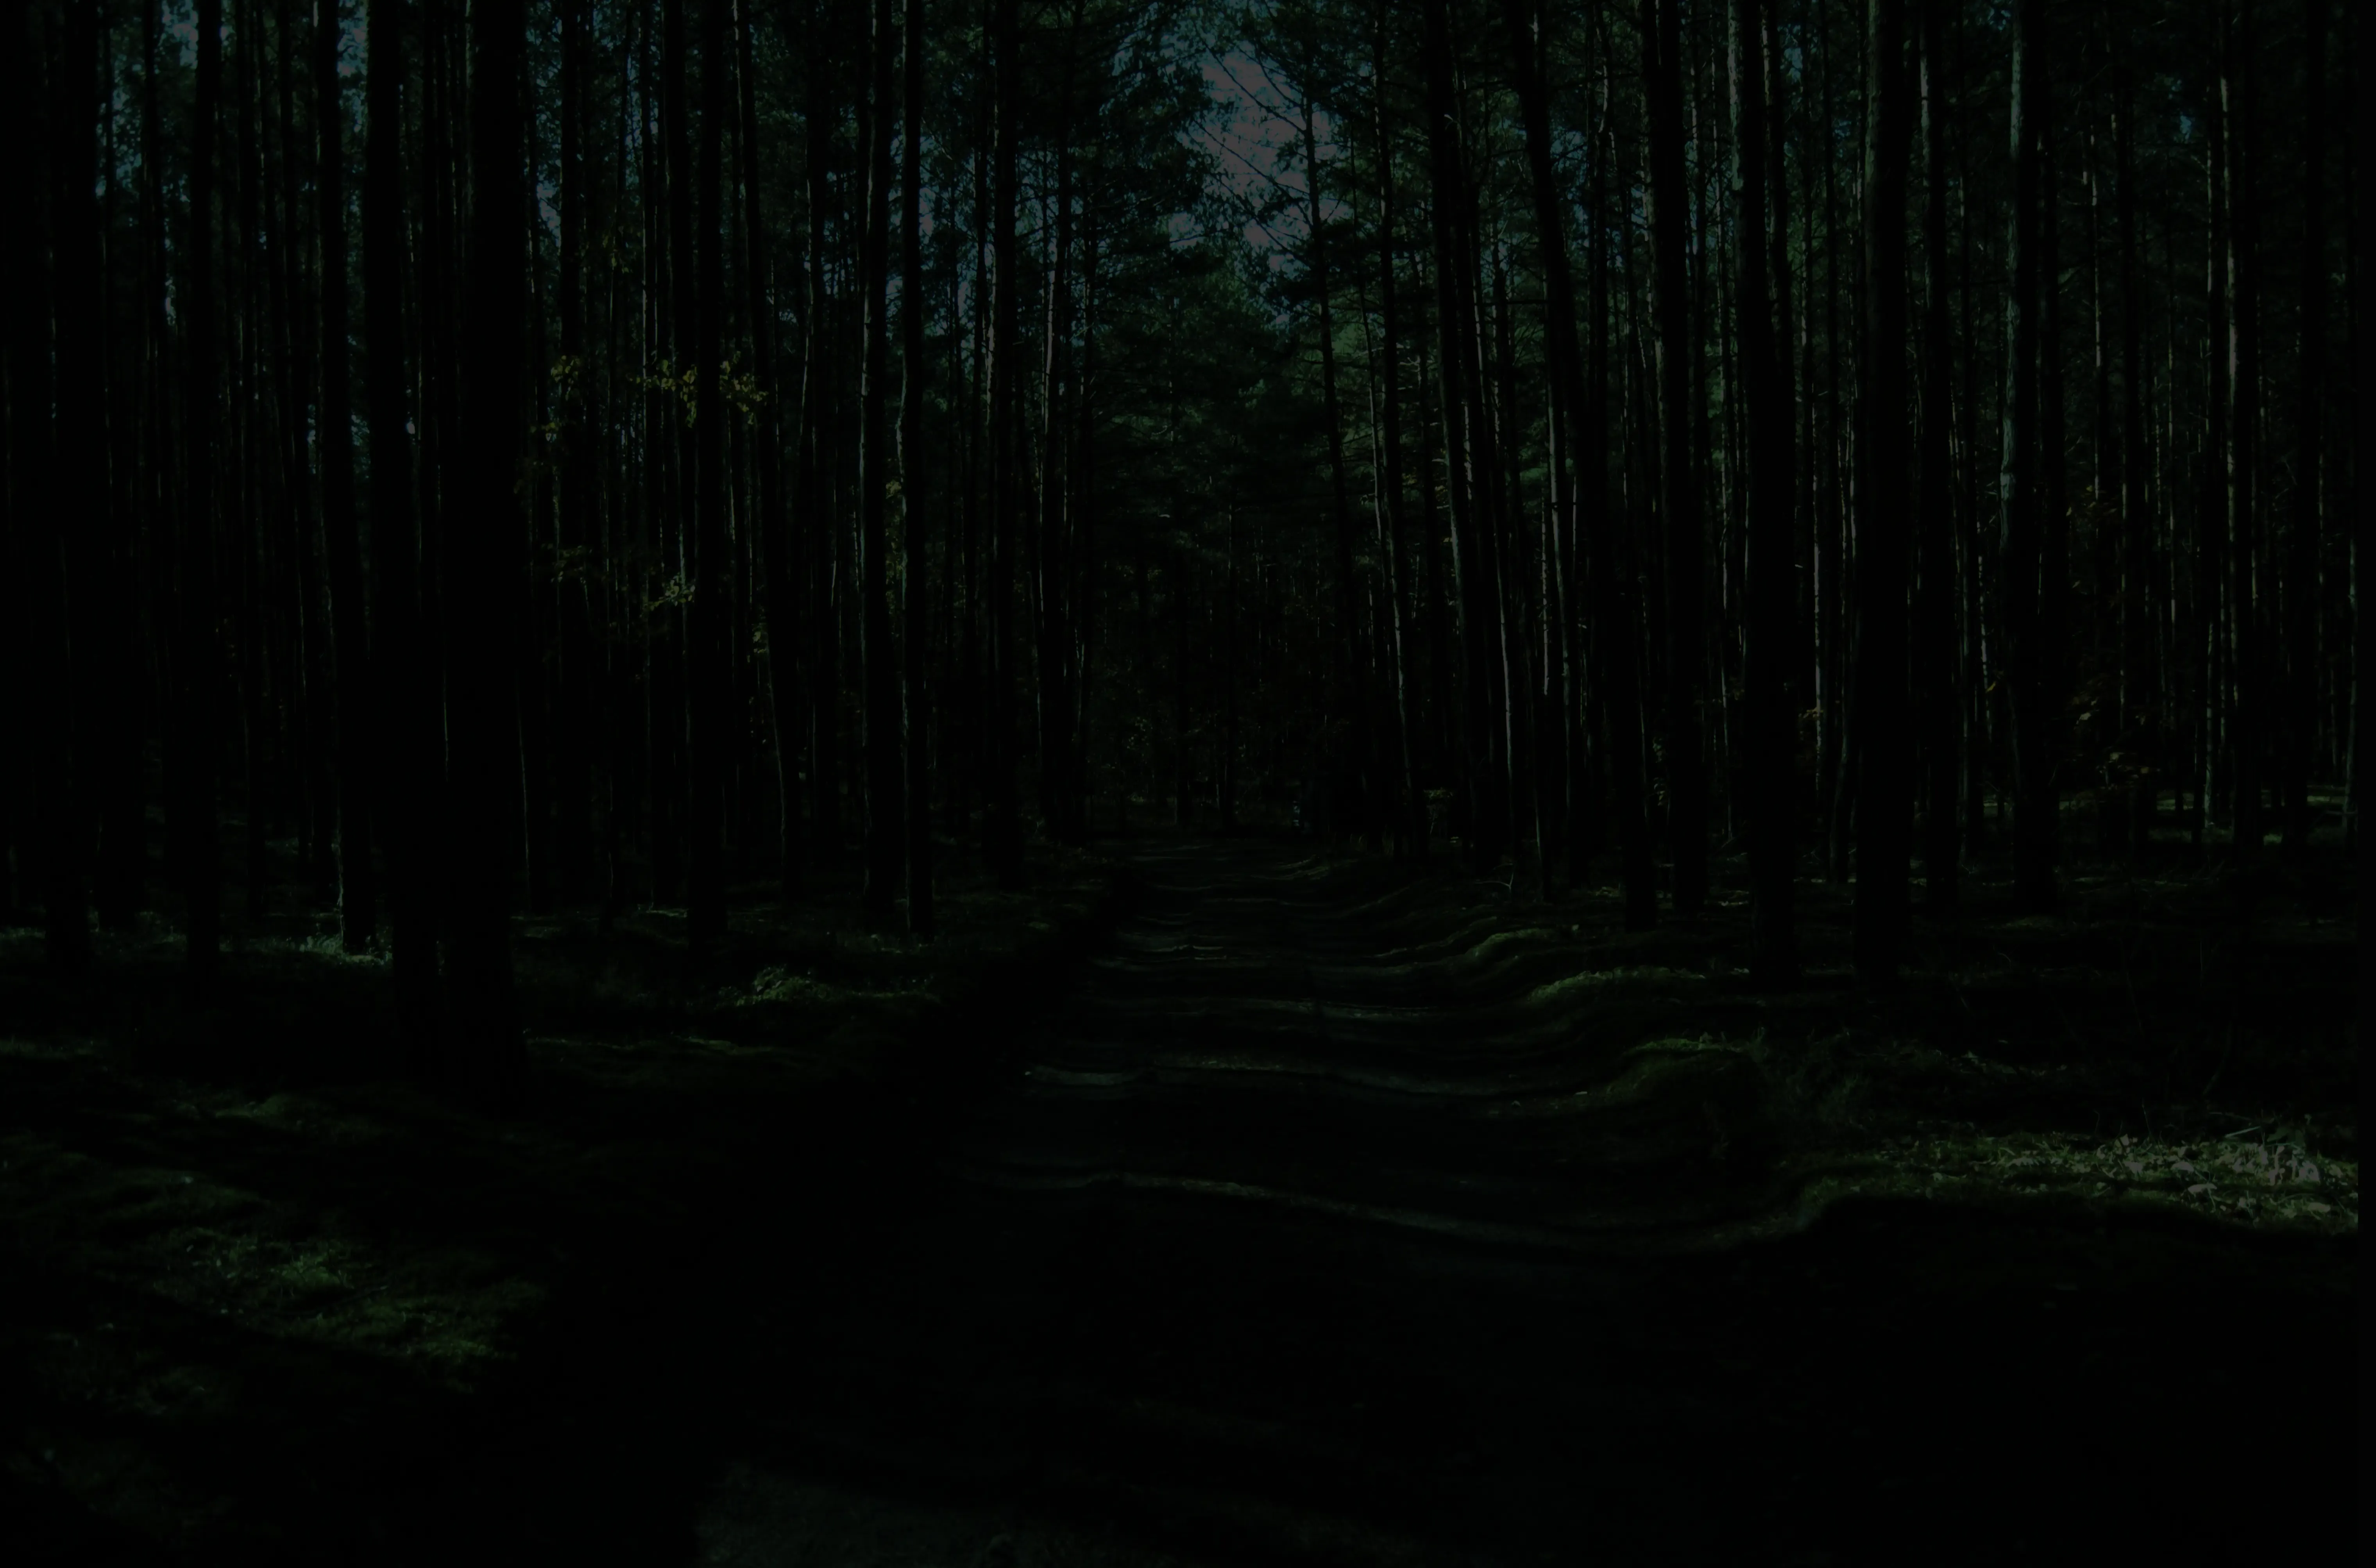
Fast? Lightning fast! But colors were completely washed out and really dark. And stb_image_write isn’t exactly buily for saving 24.2MP image and export took 10 seconds. But let’s tackle the color issue first.
Debayering alone doesn’t give you a meaningful image just yet. We need to apply Black Level Subtraction, White Balance, and a Color Space matrices. These combine into what’s called a color twist matrix. And NPP has conventient nppiColorTwist_32f_C3R_Ctx method for us to apply such matrix to our debayered image in one shot!
After working out the math, we get this:
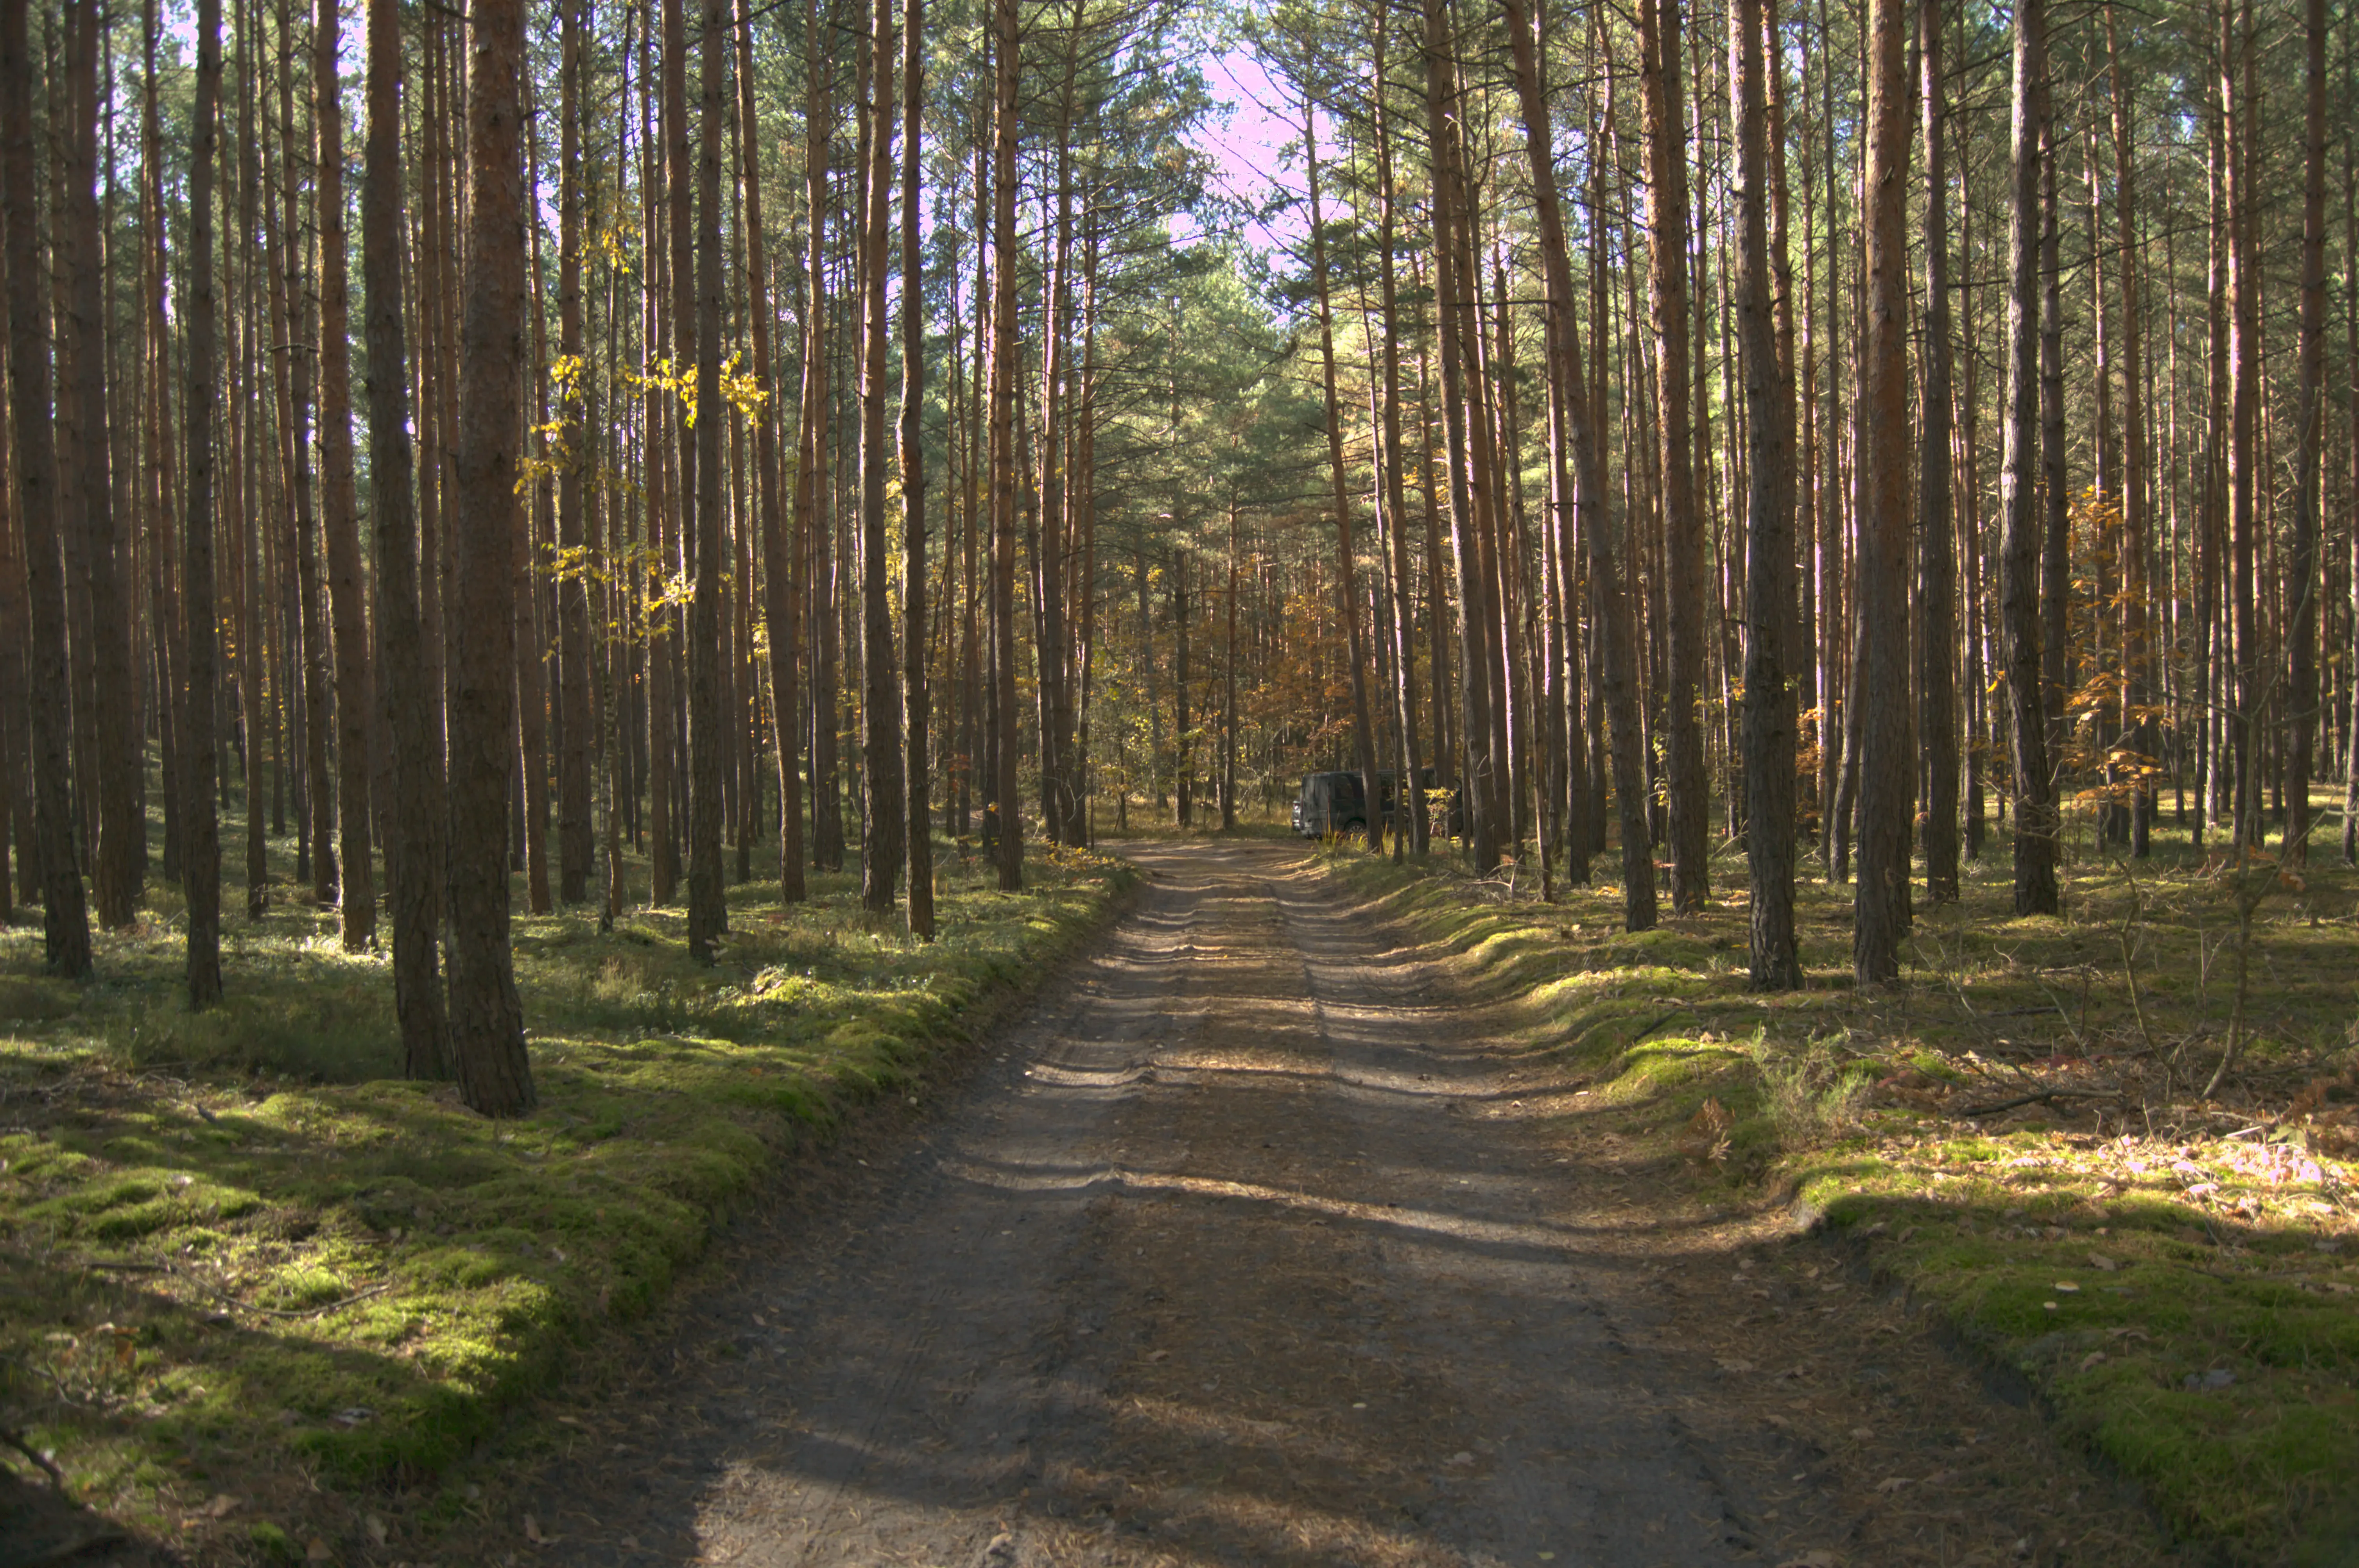
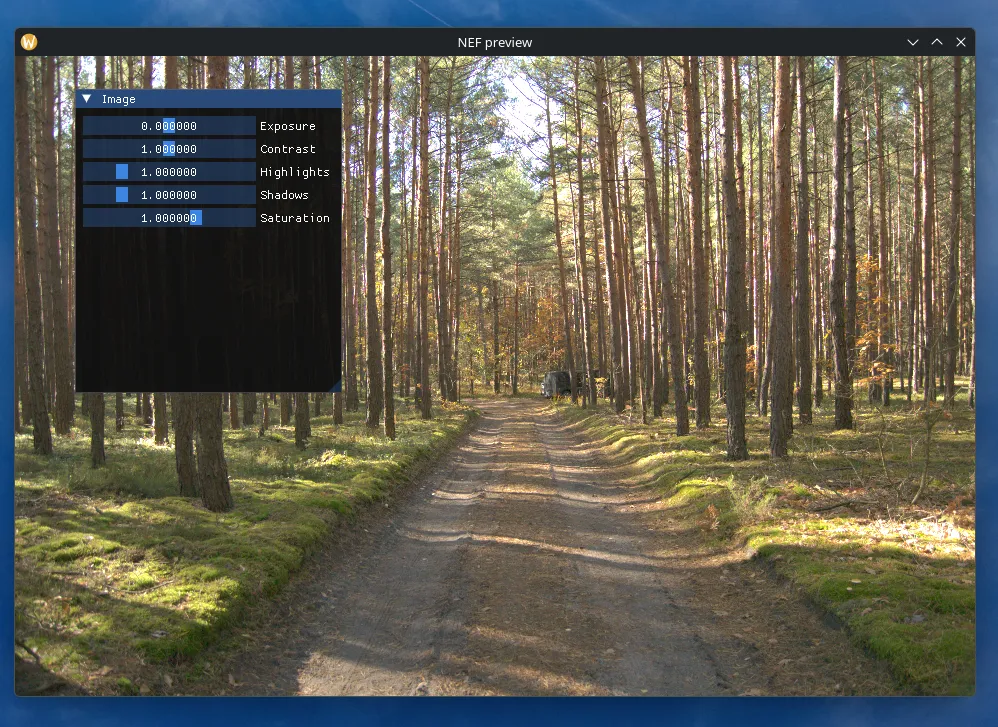
Much better! There are some pink-ish spots and fringing around trees and near the sky. We will fix this by doing applying filters that tune core image parameters: exposure, contrast, saturation and more.
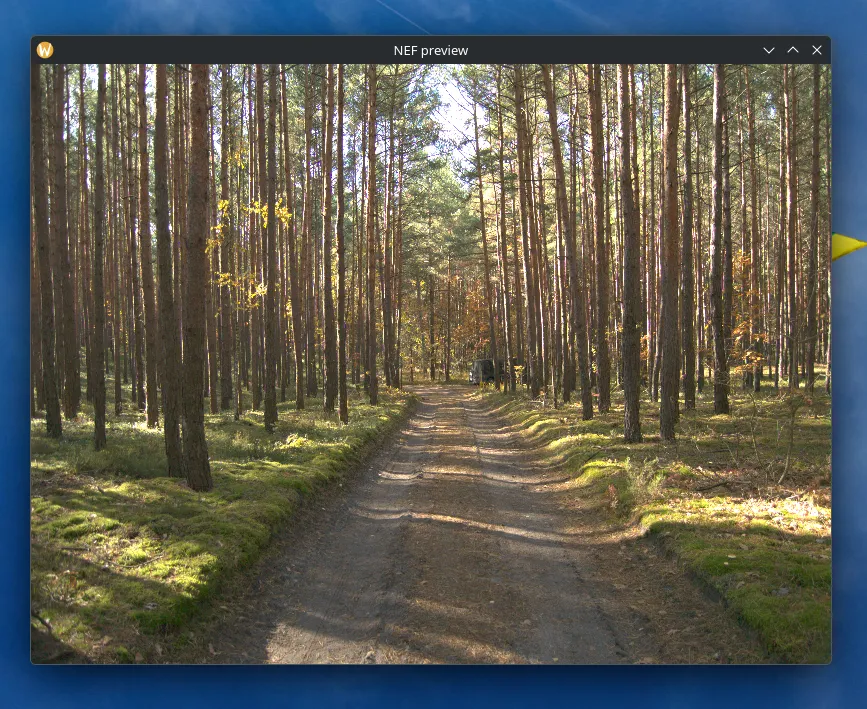
Before tackling any of that though, I wanted to build a proper preview. Something with sliders and enough room for a basic UI. And I didn’t want to wait 10 seconds on every tweak. So I chose OpenGL as graphics backend. It’s simple, lightweight, and more than enough for our needs.
The key piece here is CUDA-GL interop. Since I wanted to run the filters on the GPU as well, this lets us skip the unnecessary Device-to-Host memory copies that would otherwise bottleneck every UI update. I added neccesary dependencies and extended pipeline with a kernel that copies processed image directly to an OpenGL texture via cudaSurfaceObject.
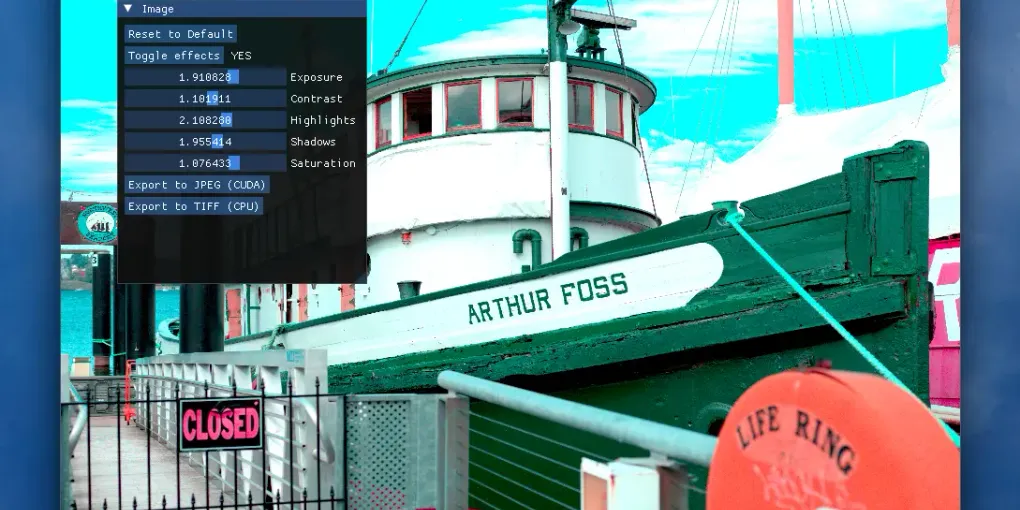
Neat! Now let’s add some UI now! For that I went with ImGui. We only need sliders and a couple of buttons, and it drops into any OpenGL project with minimal friction.
But first: how do we efficiently apply exposure, contrast, and all the other parameters? The answer is a fused kernel.
Instead of chaining 3-5 kernels like exposure_kernel, contrast_kernel and so on, we call a single effects_kernel and pass all parameters at once. Why does this matter though? Launching multiple kernels in a row has massive scheduling overhead, increasing our latency between slider update and computed result and increased memory bandwith usage. Threads in fused kernel reads and writes pixel once from VRAM.
Now let’s walk through the math. We apply the effects in this specific order:
Now let’s add sliders! In order to make this real-time, I made sliders set update flag when we change the value. Main loop checks for this flag and if it’s set, we launch our kernel.
Looks good! The last piece is a proper export. NVIDIA has us covered here too with nvJPEG. It’s a library that encodes JPEG data entirely on the GPU. Since our image is already sitting in device memory, plugging it in is straightforward.
After some meticulous profiling with Nsight Compute and Nsight Systems, I resolved minor bottlenecks and pushed occupancy to ~91% for my RTX5060. Speaking of performance: debayering a 24.2 MP image from camera like D3200 takes whopping 800us! I was genuinly shocked. That said, kernel time alone doesn’t tell the full story. The whole pipeline from GLFW init to the start of the main loop takes around 1.1 seconds, broken down roughly as:
- 400ms — GLFW initialization
- 300ms — LibRaw unpacking
- 300–400ms — CUDA pipeline (context init, all cudaMalloc/cudaFree calls, image operations etc.)
But then I got curious: how far can I push this?
8GB of VRAM invites experimentation. I found an online gallery DPREVIEW with downloadable RAW samples from various cameras. So I went looking for the largest file I could find. The winner: a 151MP RAW image from the Phase One IQ4, a $60,000 medium format camera. 300MB for a single RAW file. Wow!
The results were surprising. Performance was nearly identical to the D3200 — just a modest 20–50ms increase. NPP’s debayering kernel clocked in at ~2ms, color twist at ~6ms. And the exposure and contrast sliders still moved in real-time with no perceptible lag, smoothly changing contast and saturation on a 151MP image. It consumed about half my VRAM, which is exactly what you’d expect.
Here is the link to an image I have used: https://www.dpreview.com/sample-galleries/5619674350/phase-one-iq4-sample-gallery/4227897306
The one thing that broke: nvJPEG couldn’t encode the image. Not enough VRAM left after loading it. That’s why the repo also includes a CPU-side TIFF encoder as a fallback.
Overall, this was a fun experience and a great challenge for my CUDA skills where I managed to learn even more about GPU!